Project
This is the successor of my previous project Dart-O-Mat 3000. I chost to rewrite it using go as a backend language and svelte as a frontend framework. Also I spiced it up a little and did a full redesign. It is now called DaSCR - Board and will be one of three projects within the DaSCR range.

It will handle darts games and keep the score. That’s its basic function. Detailed documentation will follow.
Detailed documentation
A detailed documentation on how to set that up and use it you can find at dascr.org.
Installation
DaSCR – Board should work for multiple operating systems. I develop and test on linux but it should basically compile on any os gcc and go is running on.
Create required files
You will need to create a .env file each in the root directory and in the frontend directory if you plan to use the Makefile as described below.
For the start it is enough to just create them as empty file from the root directory of the project like:
touch .env
touch frontend/.env
Basic requirements
You need go and gcc as mentioned and you are better off installing git as well. Then do:
git clone https://github.com/dascr/dascr-board
cd dascr-board
Building the frontend
Before building the frontend you will need to provide a file called .env in folder ./frontend/ as this will be integrated while building.
.env in frontend folder
API_BASE=http://localhost:8000/
API_URL=http://localhost:8000/api
WS_URL=ws://localhost:8000/ws
This file will tell the frontend where to look for the backend api. Remember you need to provide this information at build time. So if the location of the backend changes (another ip or url) you need to rebuild the app.
To build the frontend you will also need node and yarn (you could use npm, but Makefile is designed to use yarn, as I am using it).
Please be advised your yarn version should be something like: 1.22.10 not 0.32+git which the Raspberry PI will install from the repositories. Better use this tutorial to install yarn (applicable for Debian): https://linuxize.com/post/how-to-install-yarn-on-debian-10/.
Then you do:
make build-frontend
This should result in ./frontend/public/ having a build folder. You are now ready to serve the frontend from public folder via a webserver or run make run-dev-frontend for running it via the development server.
Building the backend
I have the following build targets:
- build-linux_64
- build-linux_386
- build-mac
- build-armv5
- build-armv6
- build-armv7
- build-armv8_64
So in my arch linux Installation I do:
make build-linux_x64
This will result in a file ./dist/linux_amd64/dascr-board.
Windows
In Windows you can also build this project. I tested it using MSYS2. After installing this I followed this instructions https://gist.github.com/V0idExp/604c61cb7fd1bbcba8142ac94c184f20 to setup my MSYS2 environment.
After setting up accordingly you can build like (from root directory of project within MSYS2 cli):
go mod download
go generate
go build -o dist/windows_amd64/dascr-board.exe
Running it
You will also need to provide at least two environment variables to run the app. Those are API_IP and API_PORT. The app will use these to setup the server.
In Linux you can run the app like so:
API_IP=0.0.0.0 API_PORT=8000 ./dascr-board
There is also the env variable DEBUG=TRUE if you want to see more logging output.
I did not find a way yet to run an App with custom env variables in Windows, yet.
Developing
When providing an .env file, both in root directory and in frontend directory you can run those from Makefile with. The .env file in the root directory for example might look like this:
API_IP=0.0.0.0
API_PORT=8000
DEBUG=TRUE
Then you can run the development server like this from two seperate terminals
make run-dev-backend
and
make run-dev-frontend
You will need to restart the backend service if you change something in the go code.
Docker
You can build and run the two services with docker, too. I provided a Dockerfile each.
So in root you can run docker build . -t dascr-board-backend and in the folder frontend you can run docker build . -t dascr-board-frontend to build those two services.
Afterwards you can run them. Be sure to put them on the same network and to expose port 5000 on the frontend container to be able to interact with it.
If you want to add some recognition software to the mix you will have to expose the API on backend container on port 8000 as well.
To make this easy for you I also designed a docker-compose file. You can run all of this by doing:
docker network create dascr
docker-compose up
Usage
When running you need to navigate your browser to http://ip:port of the frontend. Basically everything there is explained in detail. But in short you need to create player and then you need two browser windows. One is pointing at http://ip:port/<gameid>/start. There the scoreboard will be shown after starting a game. To start a game and input data you point your browser to http://ip:port/<gameid>/game.
Deployment
As of covid-19 I use my scoreboard to host a remote game once a week and therefore deployed it to my hosting server. This is the way I did it.
I used caddy server v2 to host the frontend. Also I used a systemd service file to run the backend service in the background.
/etc/caddy/Caddyfile
example.com {
	root * /var/www/dascr
	encode gzip

	handle /api/* {
		reverse_proxy localhost:8000
	}

	handle /images/* {
		reverse_proxy localhost:8000
	}

	handle /uploads/* {
		reverse_proxy localhost:8000
	}

	handle /ws/* {
		reverse_proxy localhost:8000
	}

	handle {
		try_files {path} {file} /index.html
		file_server
	}

	header {
	# enable HSTS
	Strict-Transport-Security max-age=31536000;

	# disable clients from sniffing the media type
	X-Content-Type-Options nosniff

	# clickjacking protection
	X-Frame-Options DENY

	# keep referrer data off of HTTP connections
	Referrer-Policy no-referrer-when-downgrade
	}

	log {
		output file /var/log/caddy/example.com.access.log {
			roll_size 1gb
			roll_keep 5
			roll_keep_for 720h
		}
	}
}
var/www/dascr in this case points to ./frontend/public of the project folder after building it.
/etc/systemd/system/dascr-board
[Unit]
Description=DaSCR Board - Backend API
After=network.target

[Service]
Type=simple
User=dascr
Group=dascr
Restart=always
RestartSec=5s

Environment=API_IP=0.0.0.0
Environment=API_PORT=8000

WorkingDirectory=/var/lib/dascr
ExecStart=/var/lib/dascr/dascr-board
SyslogIdentifier=dascr-board

[Install]
WantedBy=multi-user.target
/var/lib/dascr-board is the executable resulting from make found in ./dist folder.
When building my frontend I made sure to have my .env to point to my domain instead of a local ip address. This way the clients browser later knows where to fetch the data from API:
.env in frontend folder
API_BASE=https://example.com/
API_URL=https://example.co/api
WS_URL=wss://example.com/ws
Also make sure to choose the right protocol here. Caddy server automatically uses https and therefore also wss is used instead of ws.
API
The API has a few endpoints.
[*] Starting Backend Development
DEBUG  [2021-01-18 11:16:19] All routes are
DEBUG  [2021-01-18 11:16:19] GET /api/
DEBUG  [2021-01-18 11:16:19] GET /api/debug/{id}/redirect
DEBUG  [2021-01-18 11:16:19] GET /api/debug/{id}/update
DEBUG  [2021-01-18 11:16:19] GET /api/game/
DEBUG  [2021-01-18 11:16:19] GET /api/game/{id}
DEBUG  [2021-01-18 11:16:19] POST /api/game/{id}
DEBUG  [2021-01-18 11:16:19] DELETE /api/game/{id}
DEBUG  [2021-01-18 11:16:19] GET /api/game/{id}/display
DEBUG  [2021-01-18 11:16:19] POST /api/game/{id}/nextPlayer
DEBUG  [2021-01-18 11:16:19] POST /api/game/{id}/rematch
DEBUG  [2021-01-18 11:16:19] POST /api/game/{id}/throw/{number}/{modifier}
DEBUG  [2021-01-18 11:16:19] POST /api/game/{id}/undo
DEBUG  [2021-01-18 11:16:19] POST /api/player/
DEBUG  [2021-01-18 11:16:19] GET /api/player/
DEBUG  [2021-01-18 11:16:19] GET /api/player/{id}
DEBUG  [2021-01-18 11:16:19] PATCH /api/player/{id}
DEBUG  [2021-01-18 11:16:19] DELETE /api/player/{id}
DEBUG  [2021-01-18 11:16:19] POST /api/player/{id}/image
DEBUG  [2021-01-18 11:16:19] HEAD /images/*
DEBUG  [2021-01-18 11:16:19] PUT /images/*
DEBUG  [2021-01-18 11:16:19] POST /images/*
DEBUG  [2021-01-18 11:16:19] CONNECT /images/*
DEBUG  [2021-01-18 11:16:19] TRACE /images/*
DEBUG  [2021-01-18 11:16:19] PATCH /images/*
DEBUG  [2021-01-18 11:16:19] GET /images/*
DEBUG  [2021-01-18 11:16:19] DELETE /images/*
DEBUG  [2021-01-18 11:16:19] OPTIONS /images/*
DEBUG  [2021-01-18 11:16:19] PATCH /uploads/*
DEBUG  [2021-01-18 11:16:19] PUT /uploads/*
DEBUG  [2021-01-18 11:16:19] CONNECT /uploads/*
DEBUG  [2021-01-18 11:16:19] HEAD /uploads/*
DEBUG  [2021-01-18 11:16:19] GET /uploads/*
DEBUG  [2021-01-18 11:16:19] TRACE /uploads/*
DEBUG  [2021-01-18 11:16:19] OPTIONS /uploads/*
DEBUG  [2021-01-18 11:16:19] DELETE /uploads/*
DEBUG  [2021-01-18 11:16:19] POST /uploads/*
DEBUG  [2021-01-18 11:16:19] GET /ws/{id}
INFO   [2021-01-18 11:16:19] Starting API at: 0.0.0.0:8000
Those are basically all endpoints (you can read them when starting with DEBUG=TRUE in the console). The most important ones are POST /api/game/{id}/nextPlayer and POST /api/game/{id}/throw/{number}/{modifier}. Those are the endpoints a recognition software should send to (and will after finishing dascr-machine and dascr-cam).
Screenshots
Here are a few screenshots of the games and the UI.
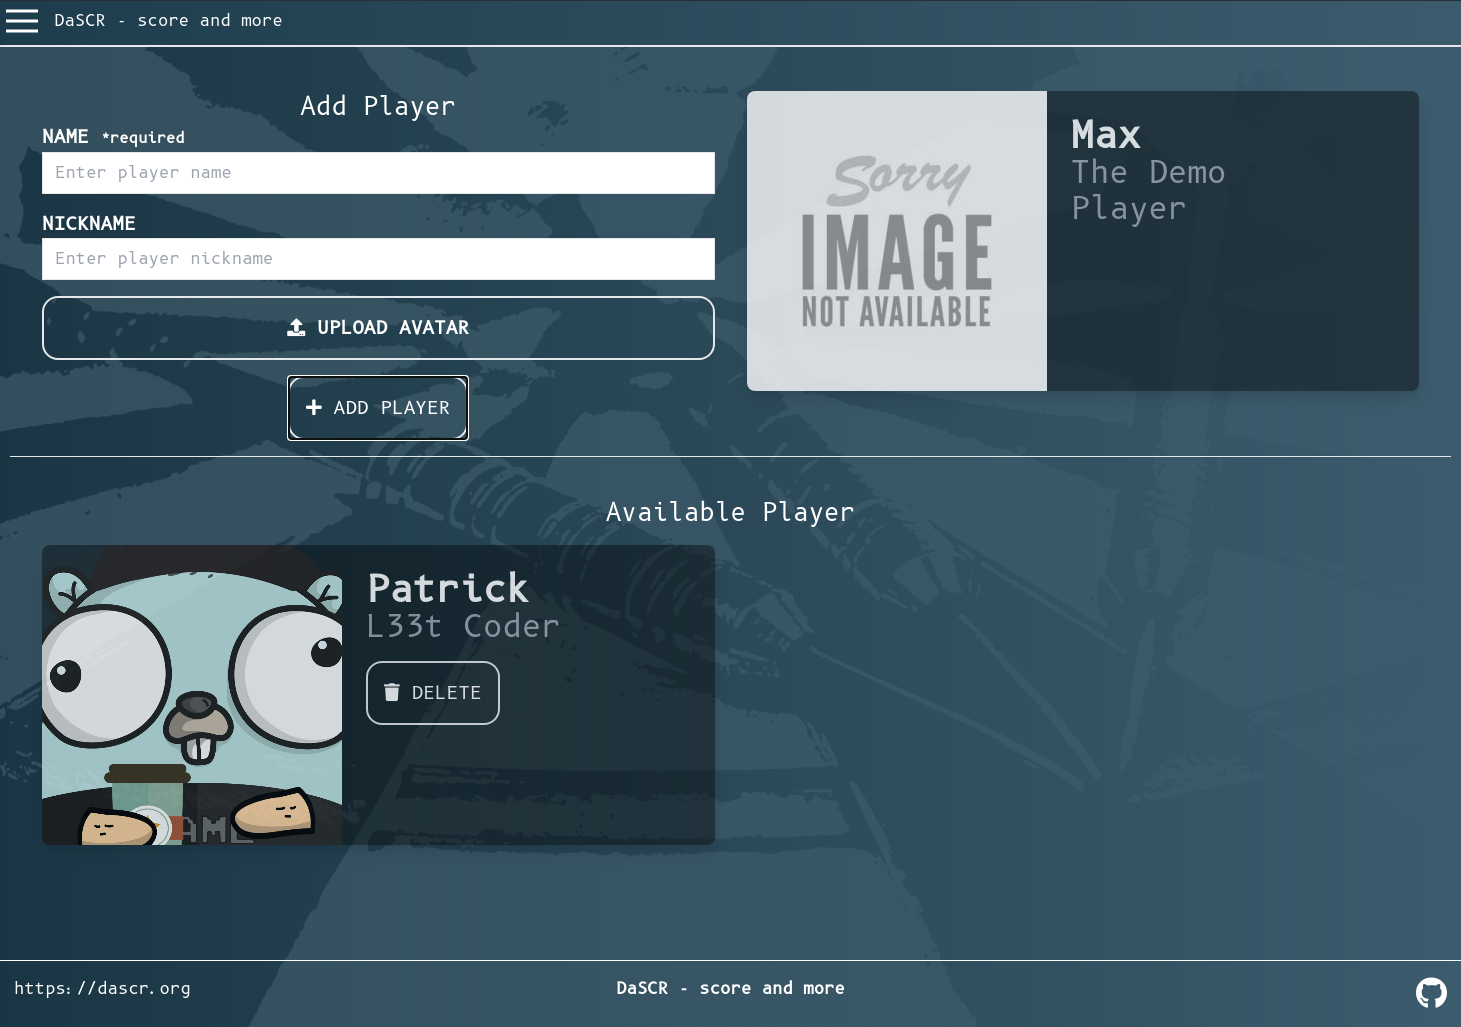
Setup
Player Setup
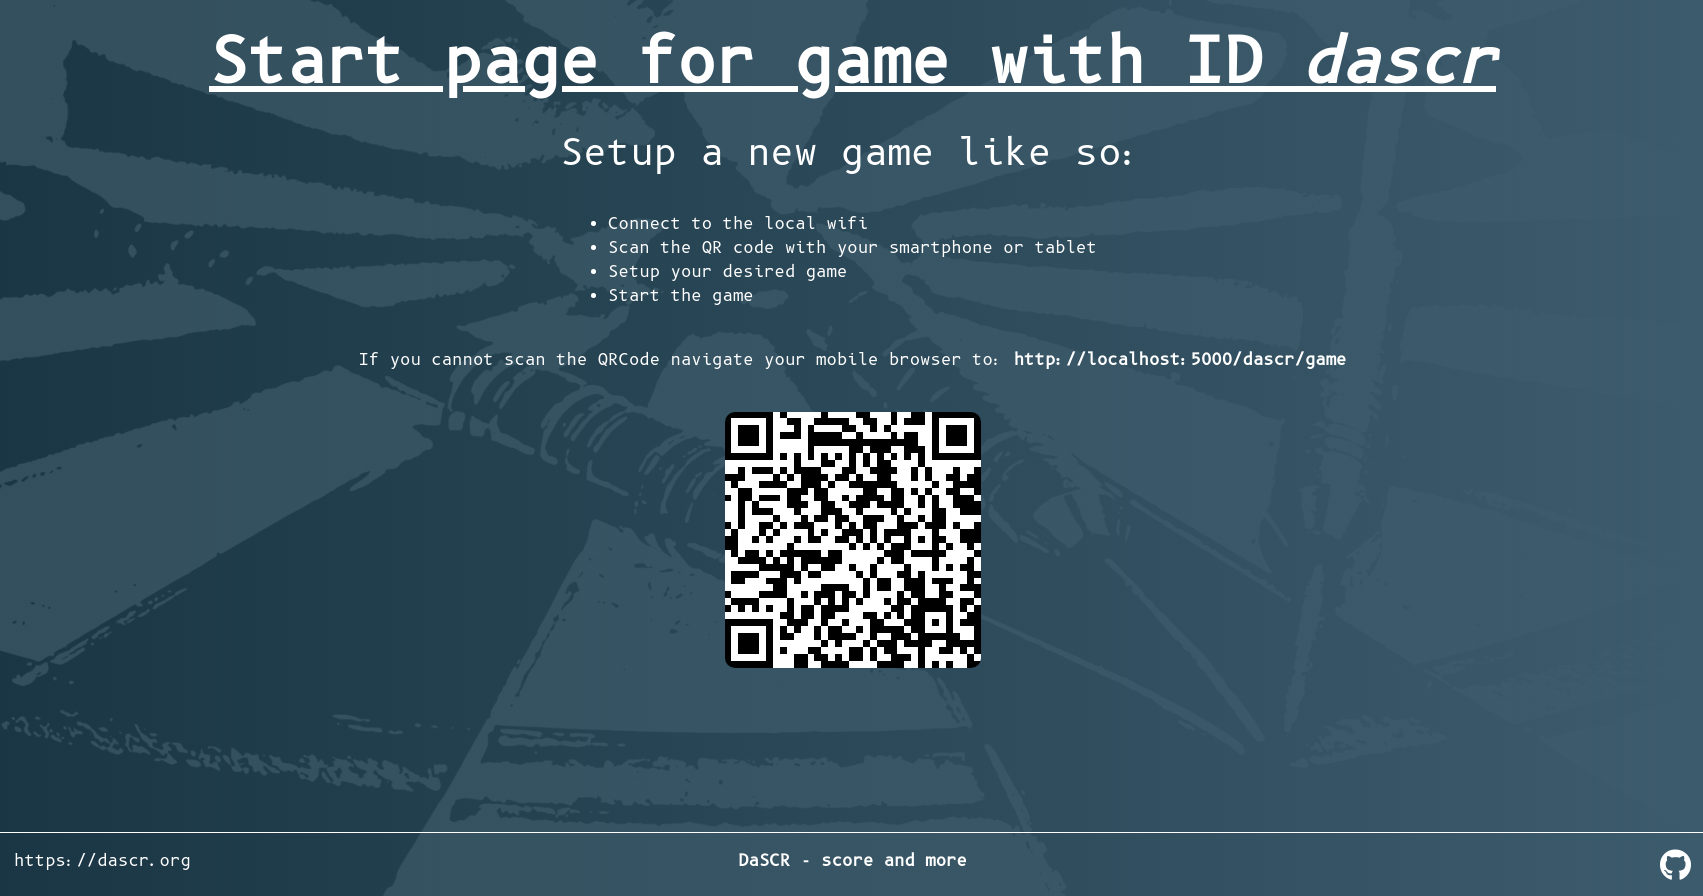
Start Page
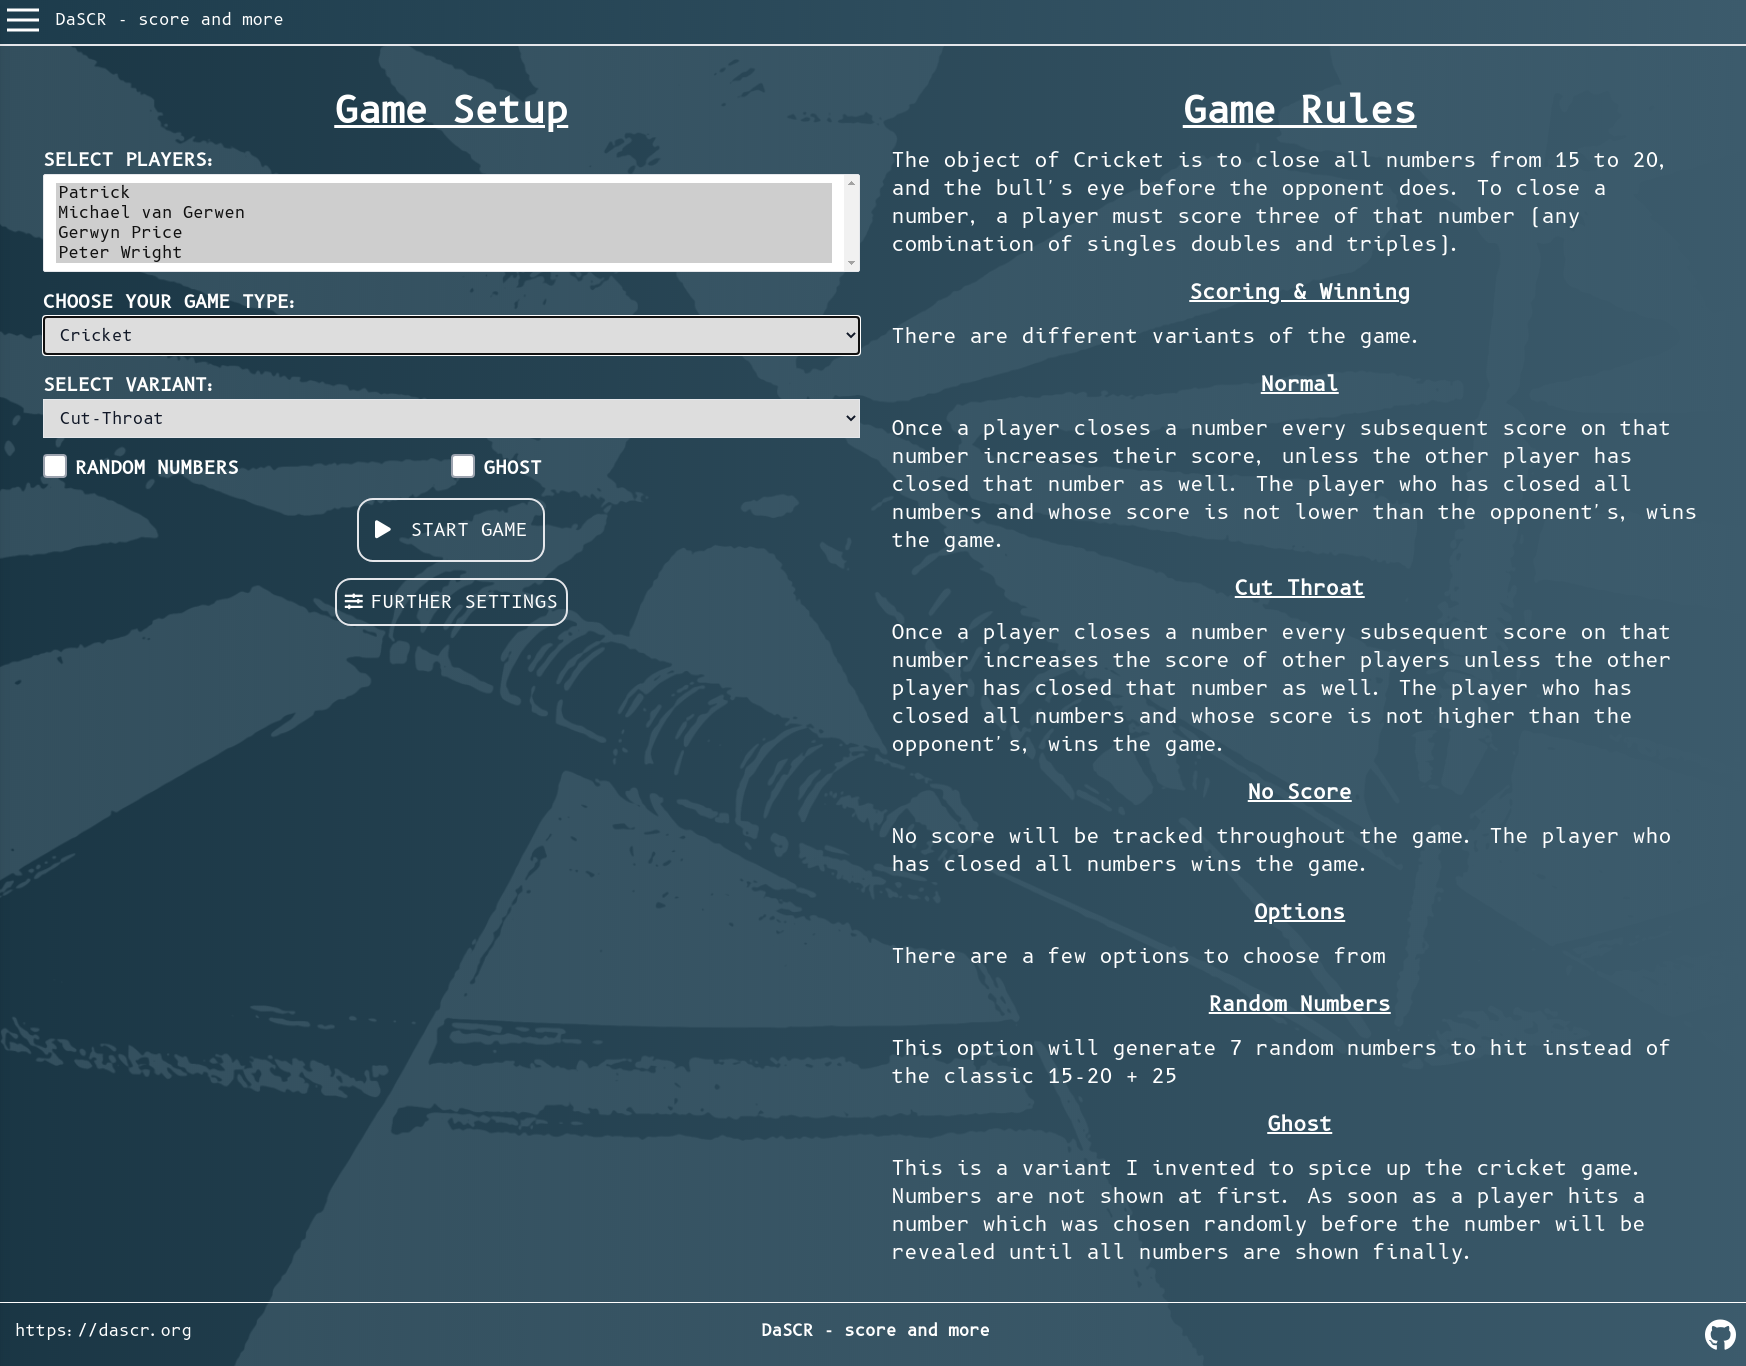
Game Setup
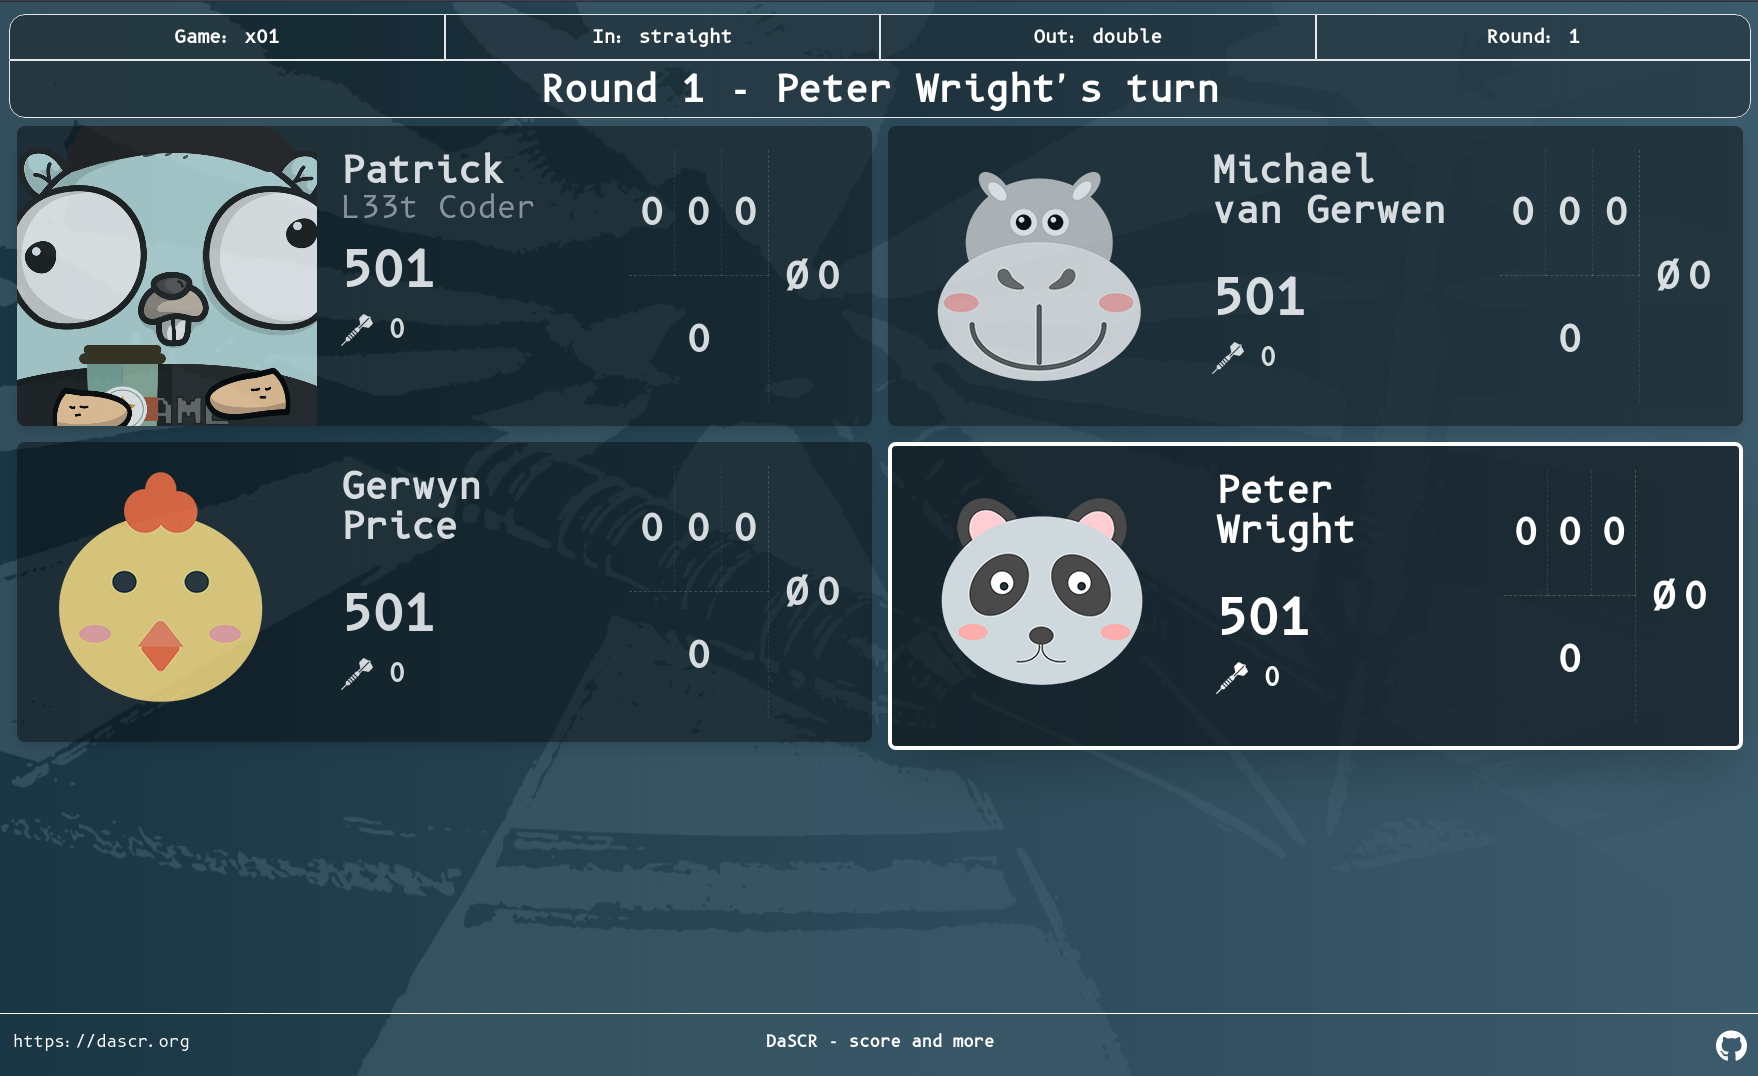
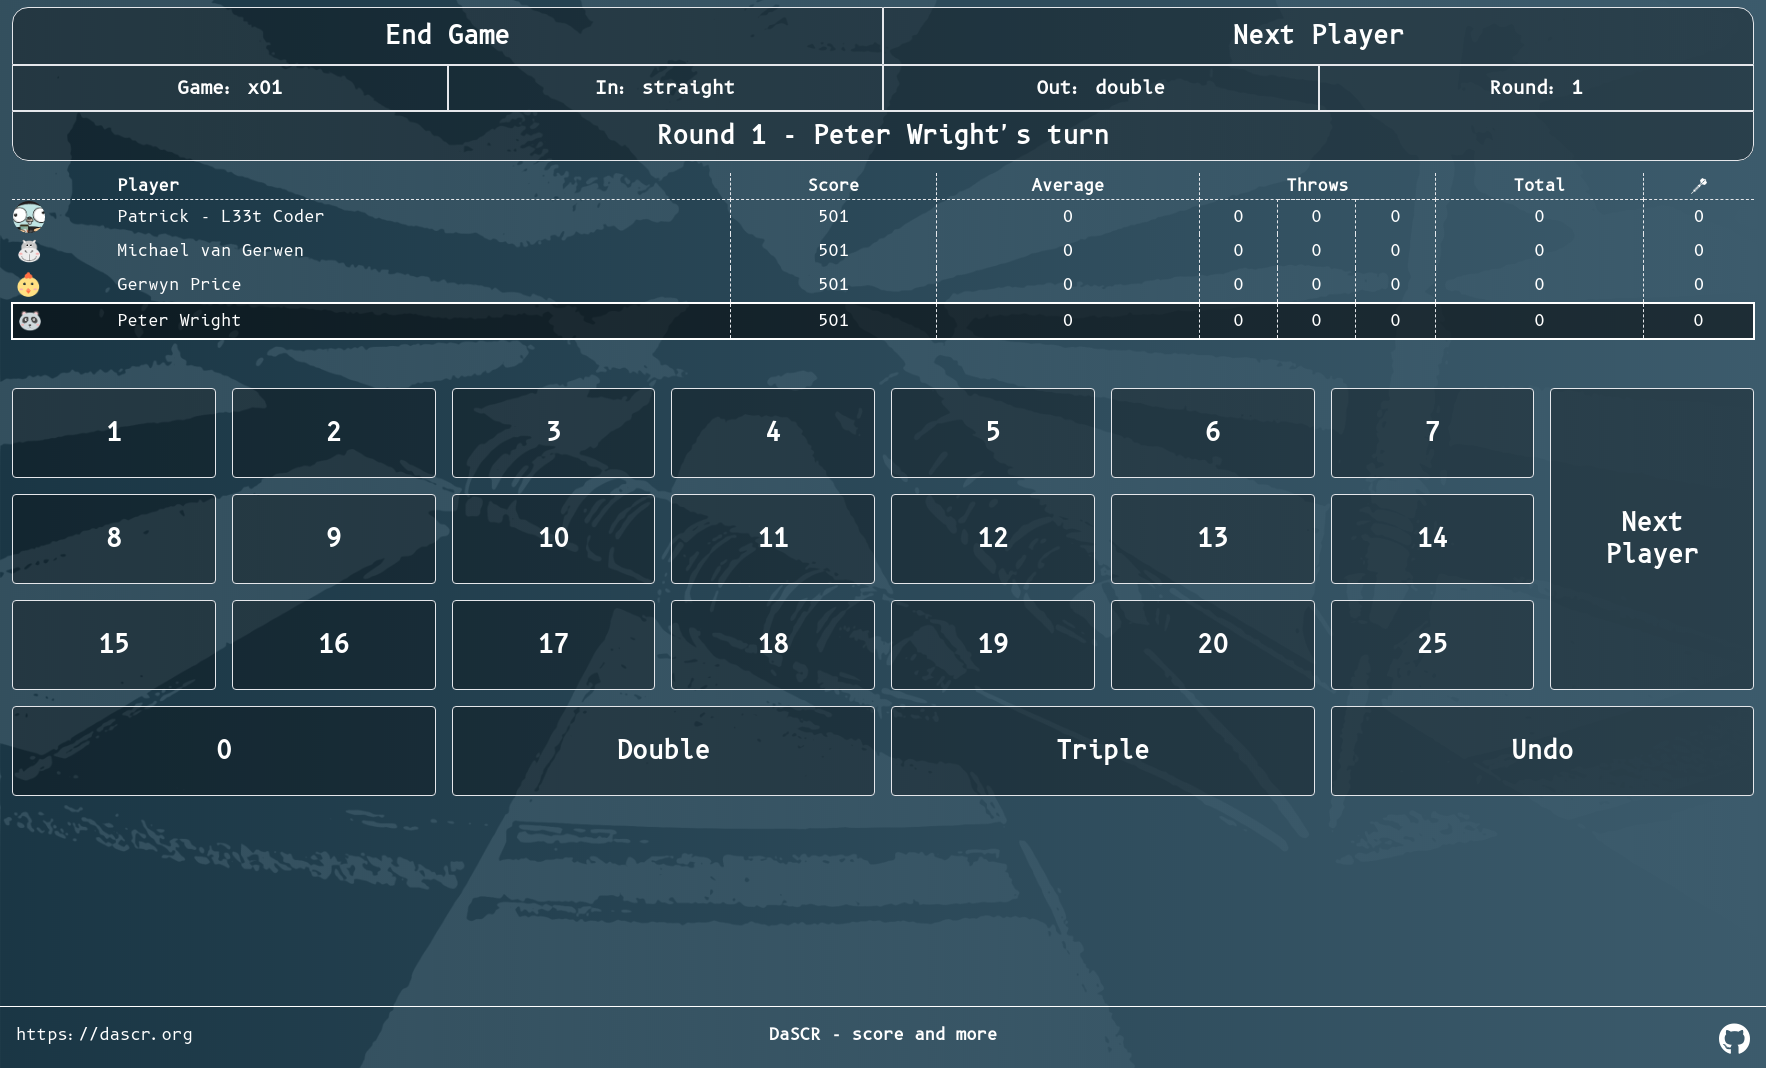
X01
Scoreboard
Controller
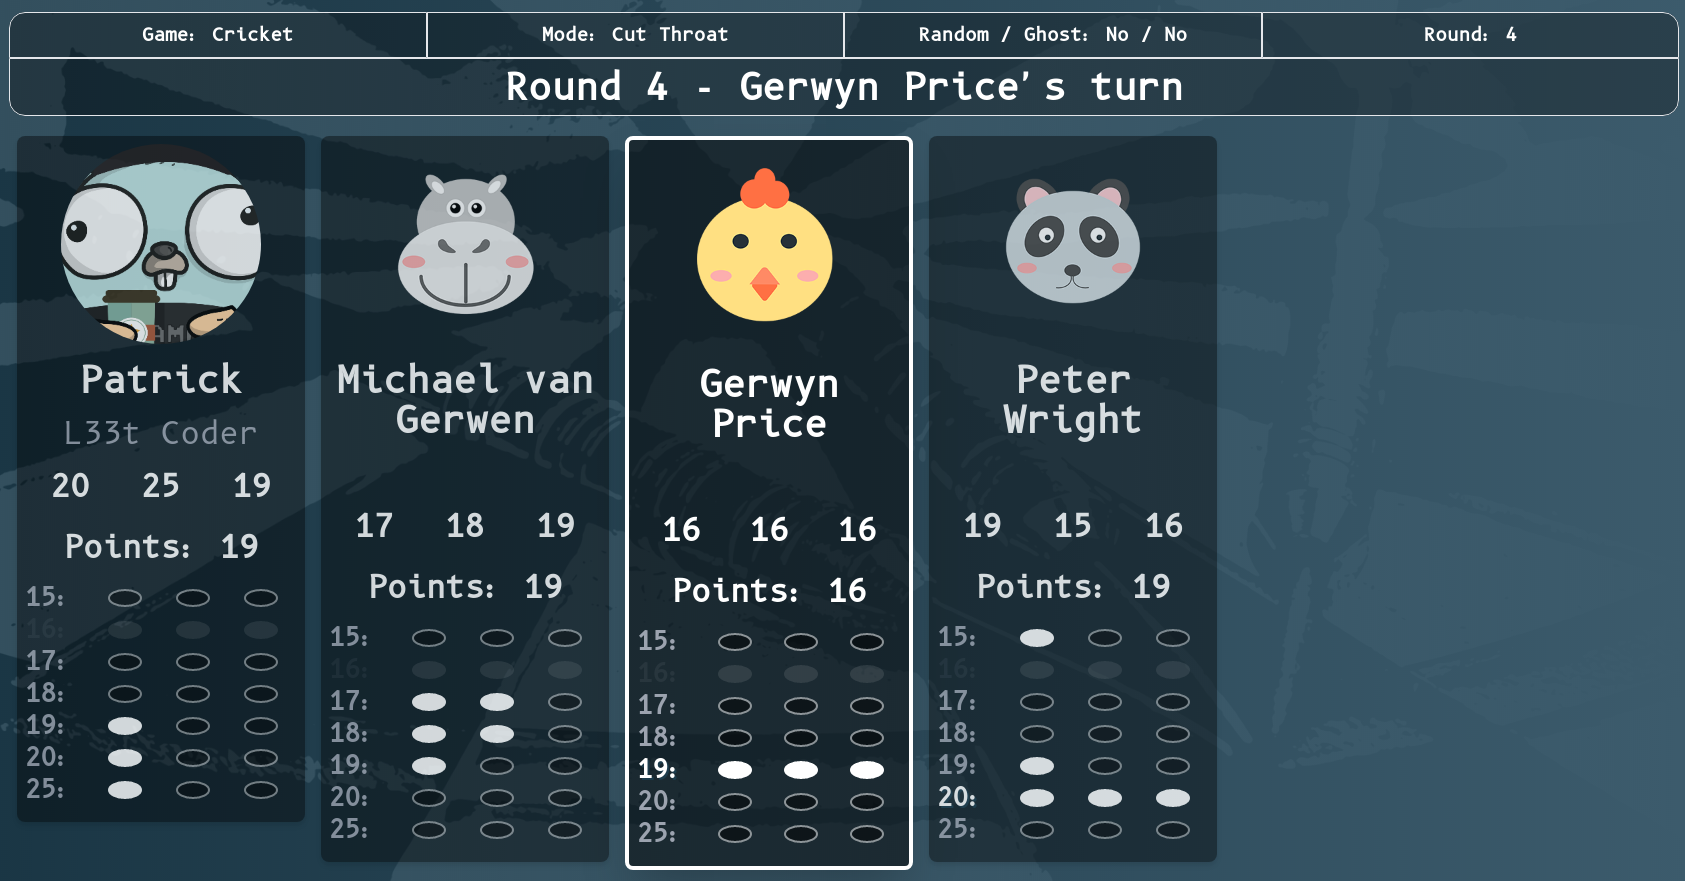
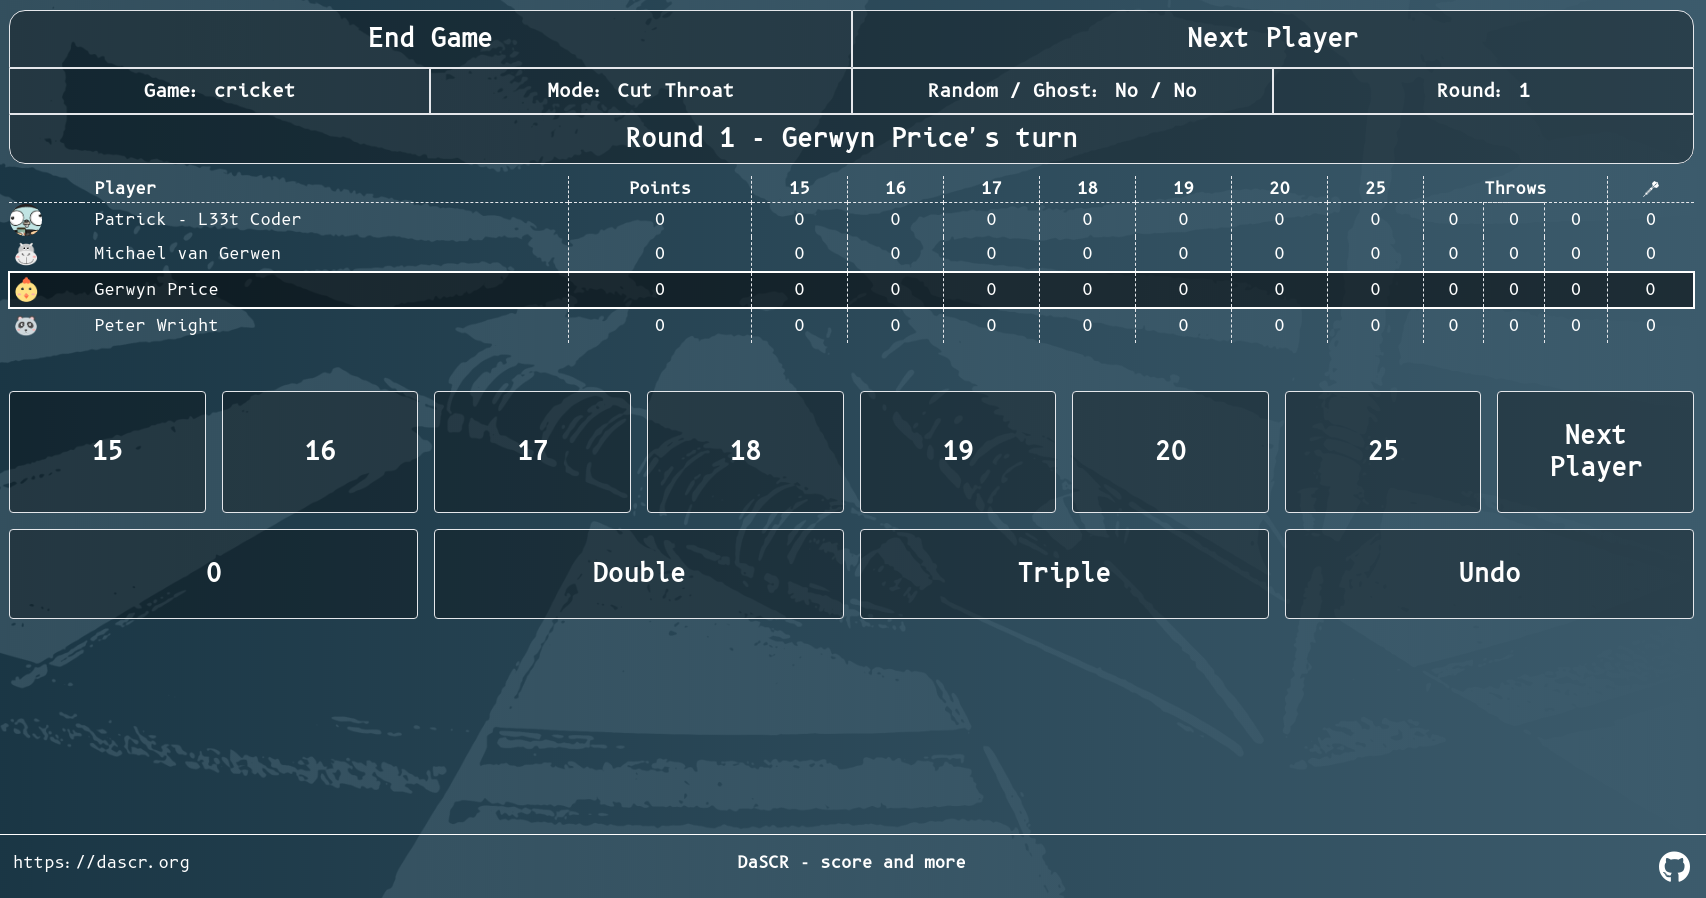
Cricket
Scoreboard
Controller
Roadmap
Right now I am missing a few things I planned on.
- More games (Highscore, Elimination)
- Sound
Download Scoreboard successor of dart-o-mat-3000 source code on GitHub
https://github.com/dascr/dascr-board
Provides the list of the opensource Flutter apps collection with GitHub repository.
