A full introduction to this project can be found in the docs.

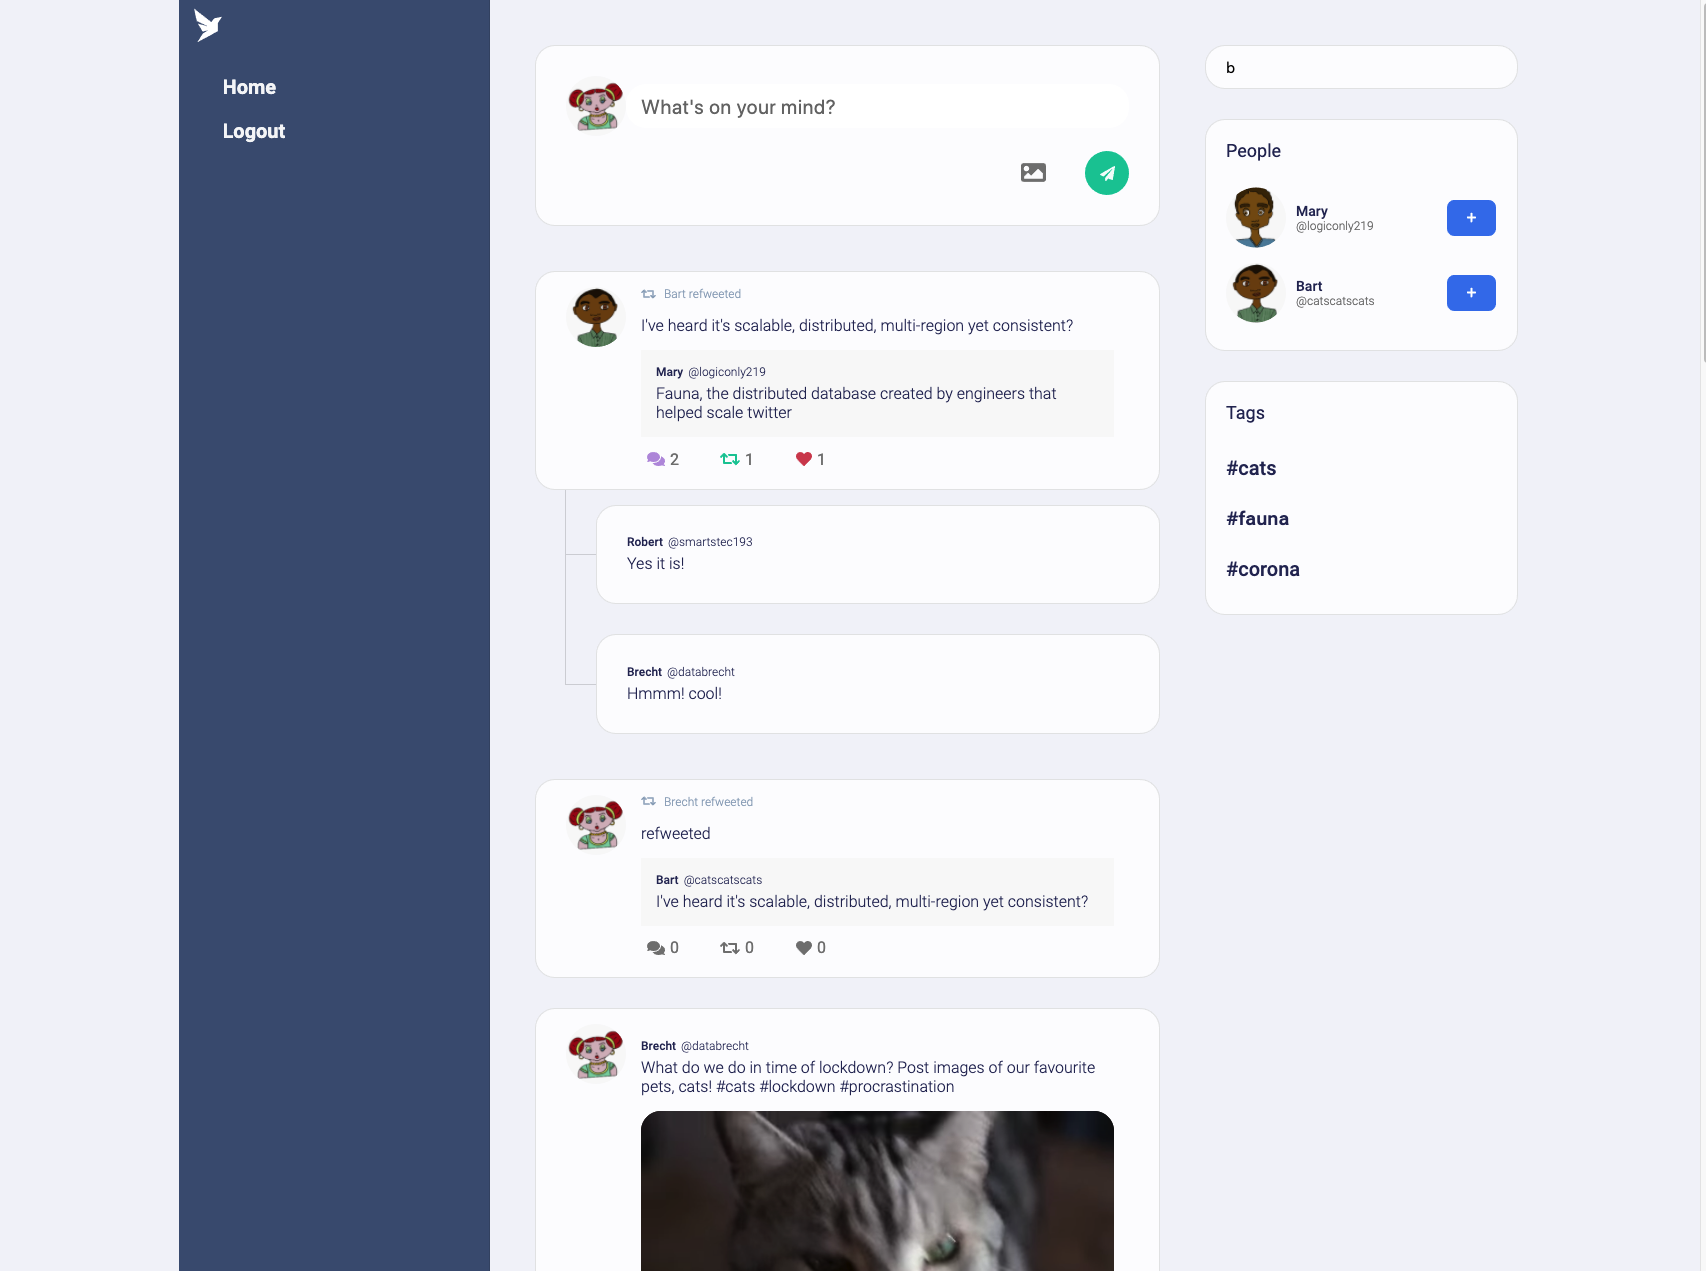
This project is an example of how to build a ‘real-world’ app with highly dynamic data in a serverless fashion using React hooks and FaunaDB. Since FaunaDB was developed by ex-Twitter engineers, a Twitter-like application felt like an appropriately sentimental choice, and we call this serverless baby ‘Fwitter’.
There is a first CSS-tricks article that describes the application in general, explains auth, data modeling and simple queries and brushes over the other features. More articles are coming on the Fauna blog and/or CSS Tricks.
It uses the Fauna Query Language (FQL) and starts with a frontend-only approach that directly accesses the serverless database FaunaDB for data storage, authentication, and authorization.

A few features are still missing and will be covered in future articles, including streaming, pagination, benchmarks, and a more advanced security model with short-lived tokens, JWT tokens, single sign-on (possibly using a service like Auth0), IP-based rate limiting (with Cloudflare workers), e-mail verification (with a service like SendGrid), and HttpOnly cookies.

Prerequisites
This app requires Node.js version 14 (LTS) or later.
Set up the project
This app was created with Create React App. To start using it we need to:
Install npm packages
npm install
Set up the database
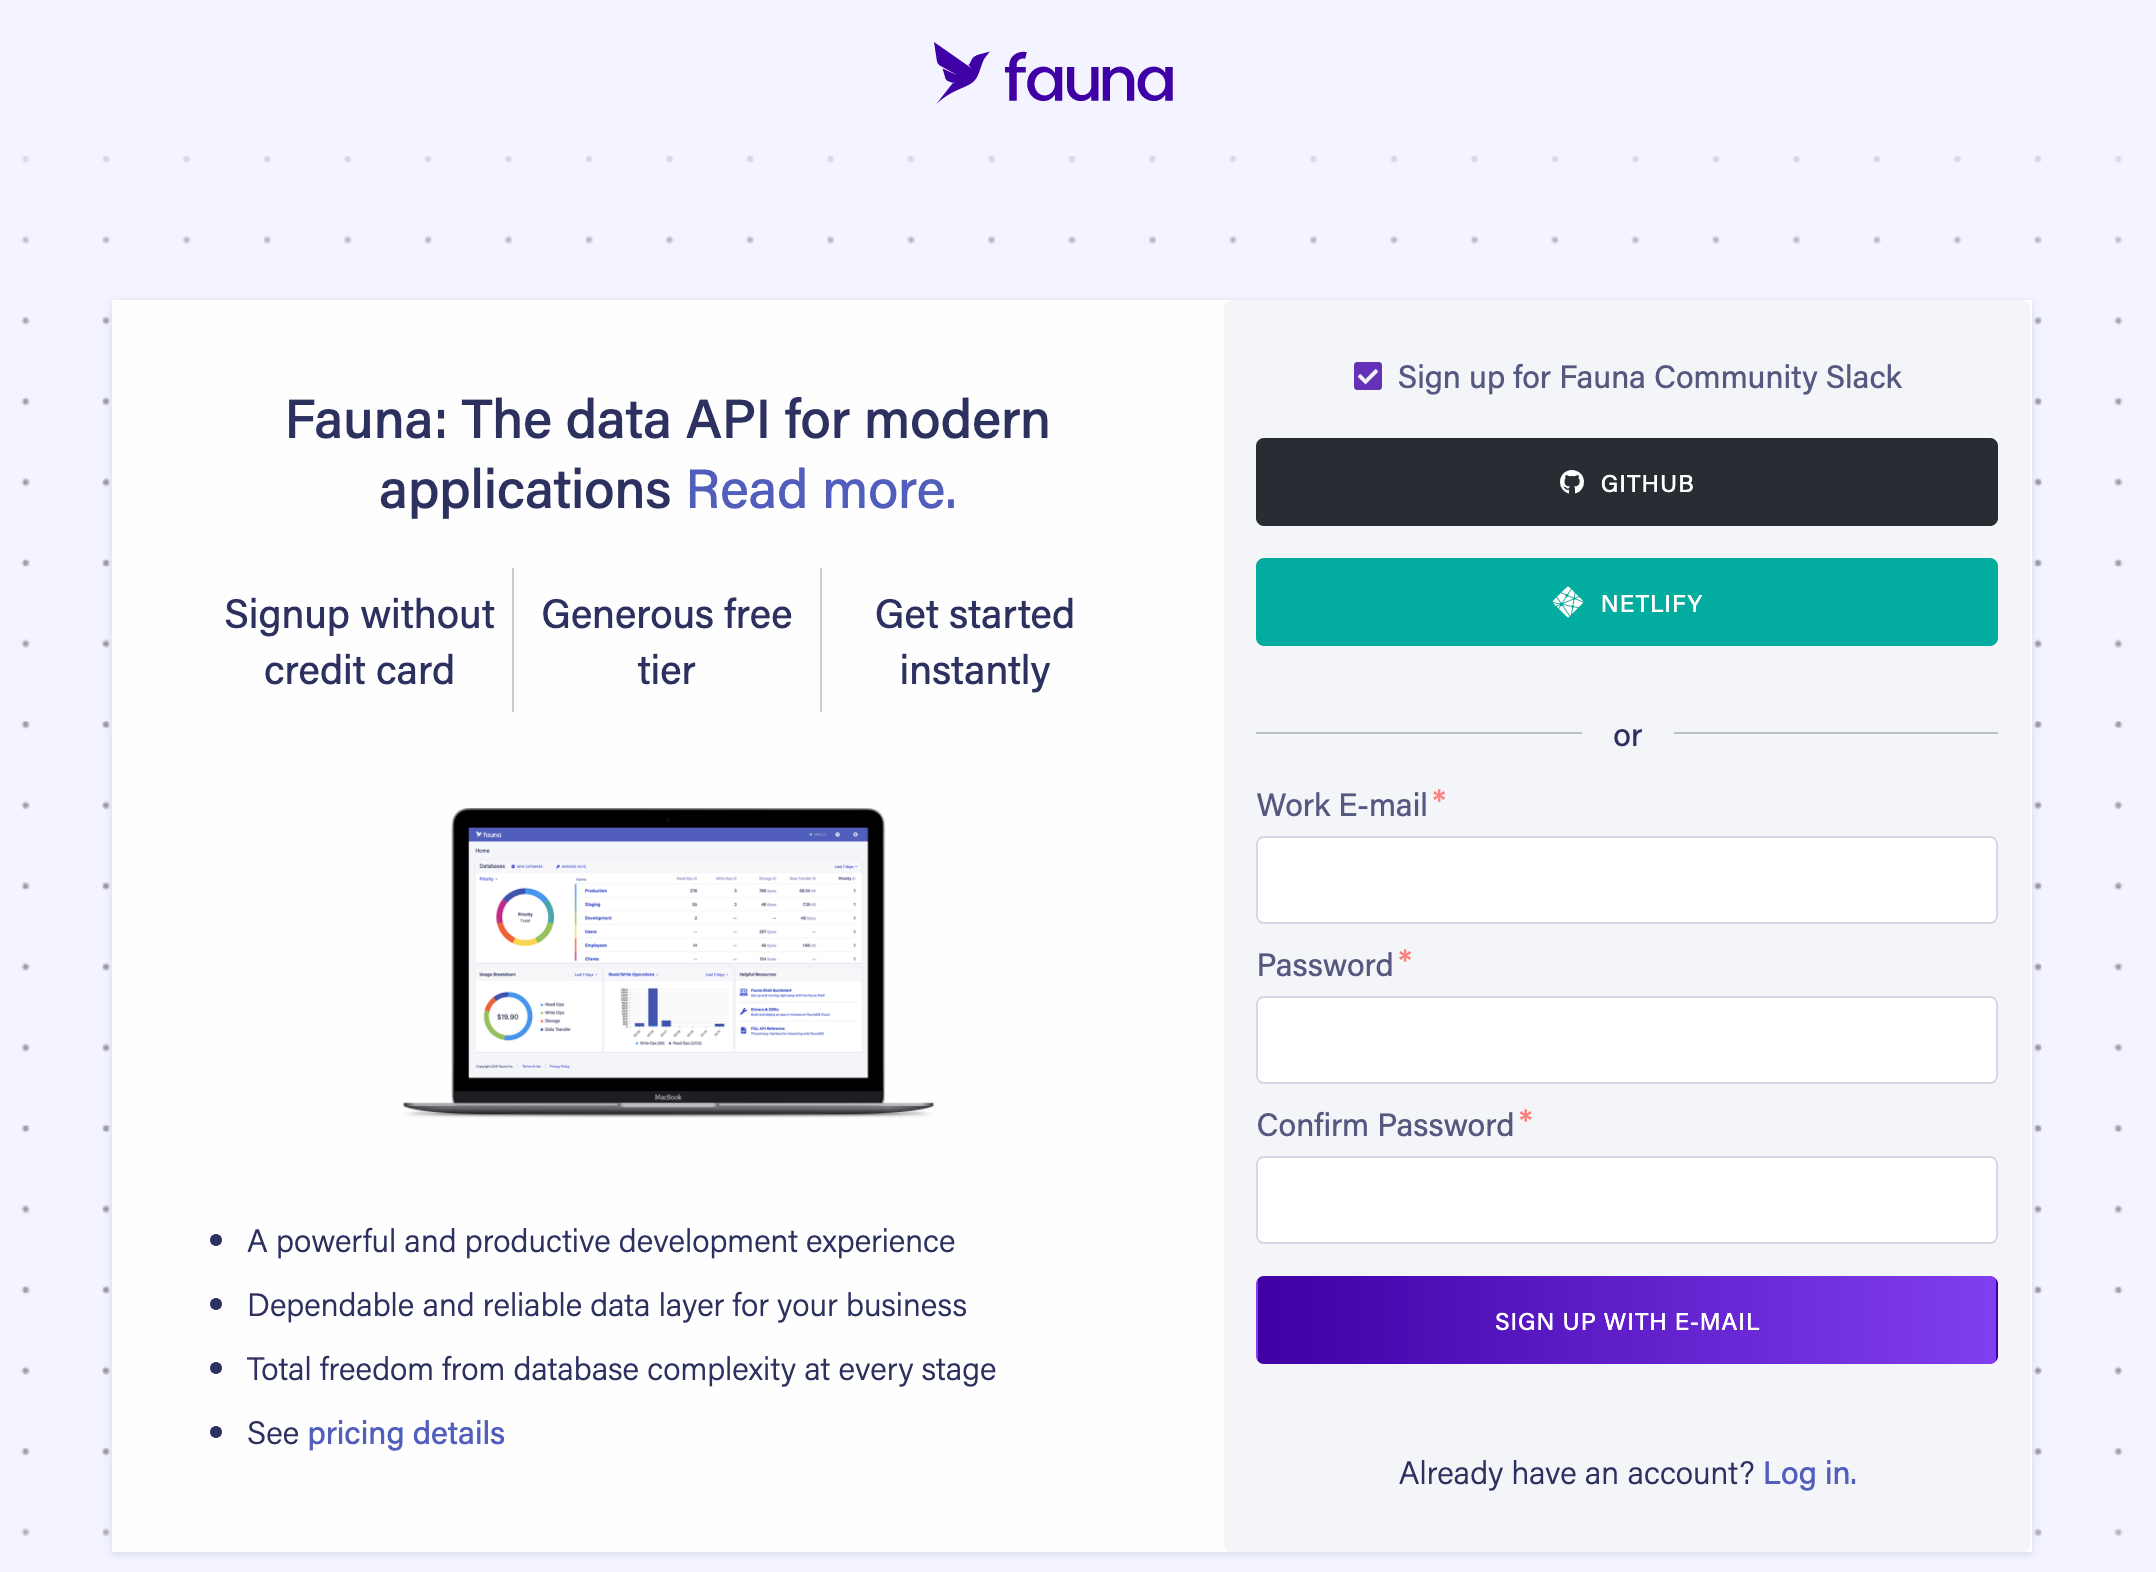
To set up the project, go to the FaunaDB Dashboard and sign up.
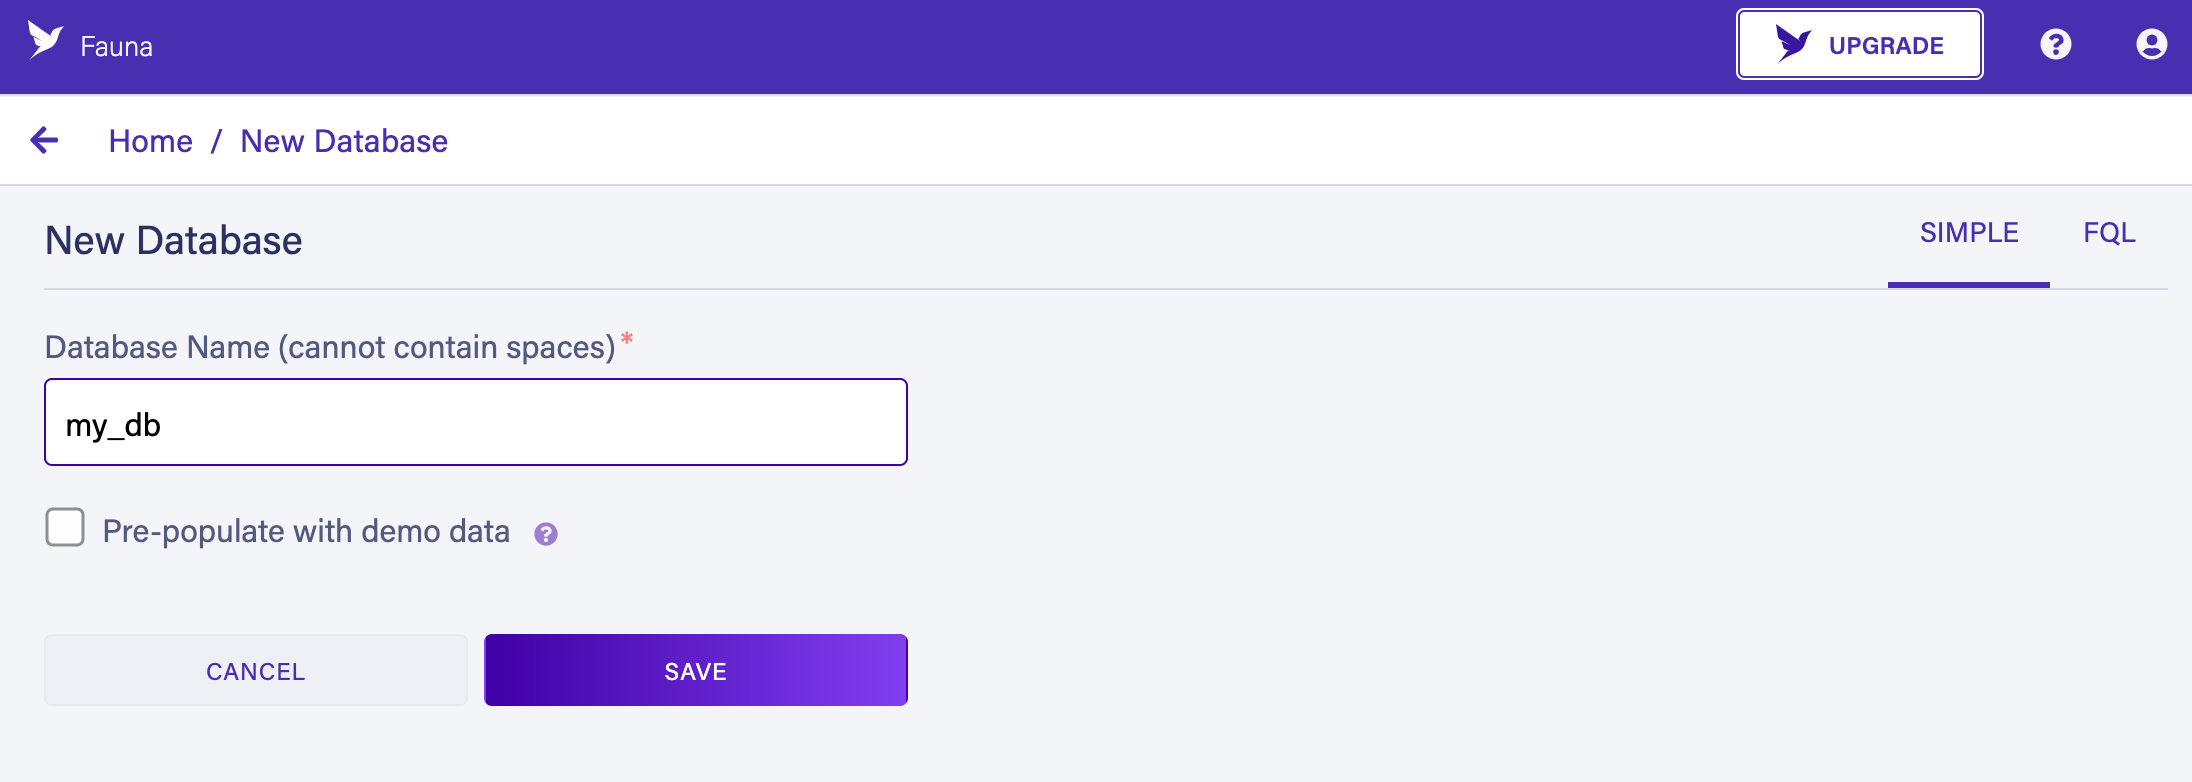
Once you are in the dashboard, click on New Database, select Classic for the Region Group, fill in a name, and click Save.
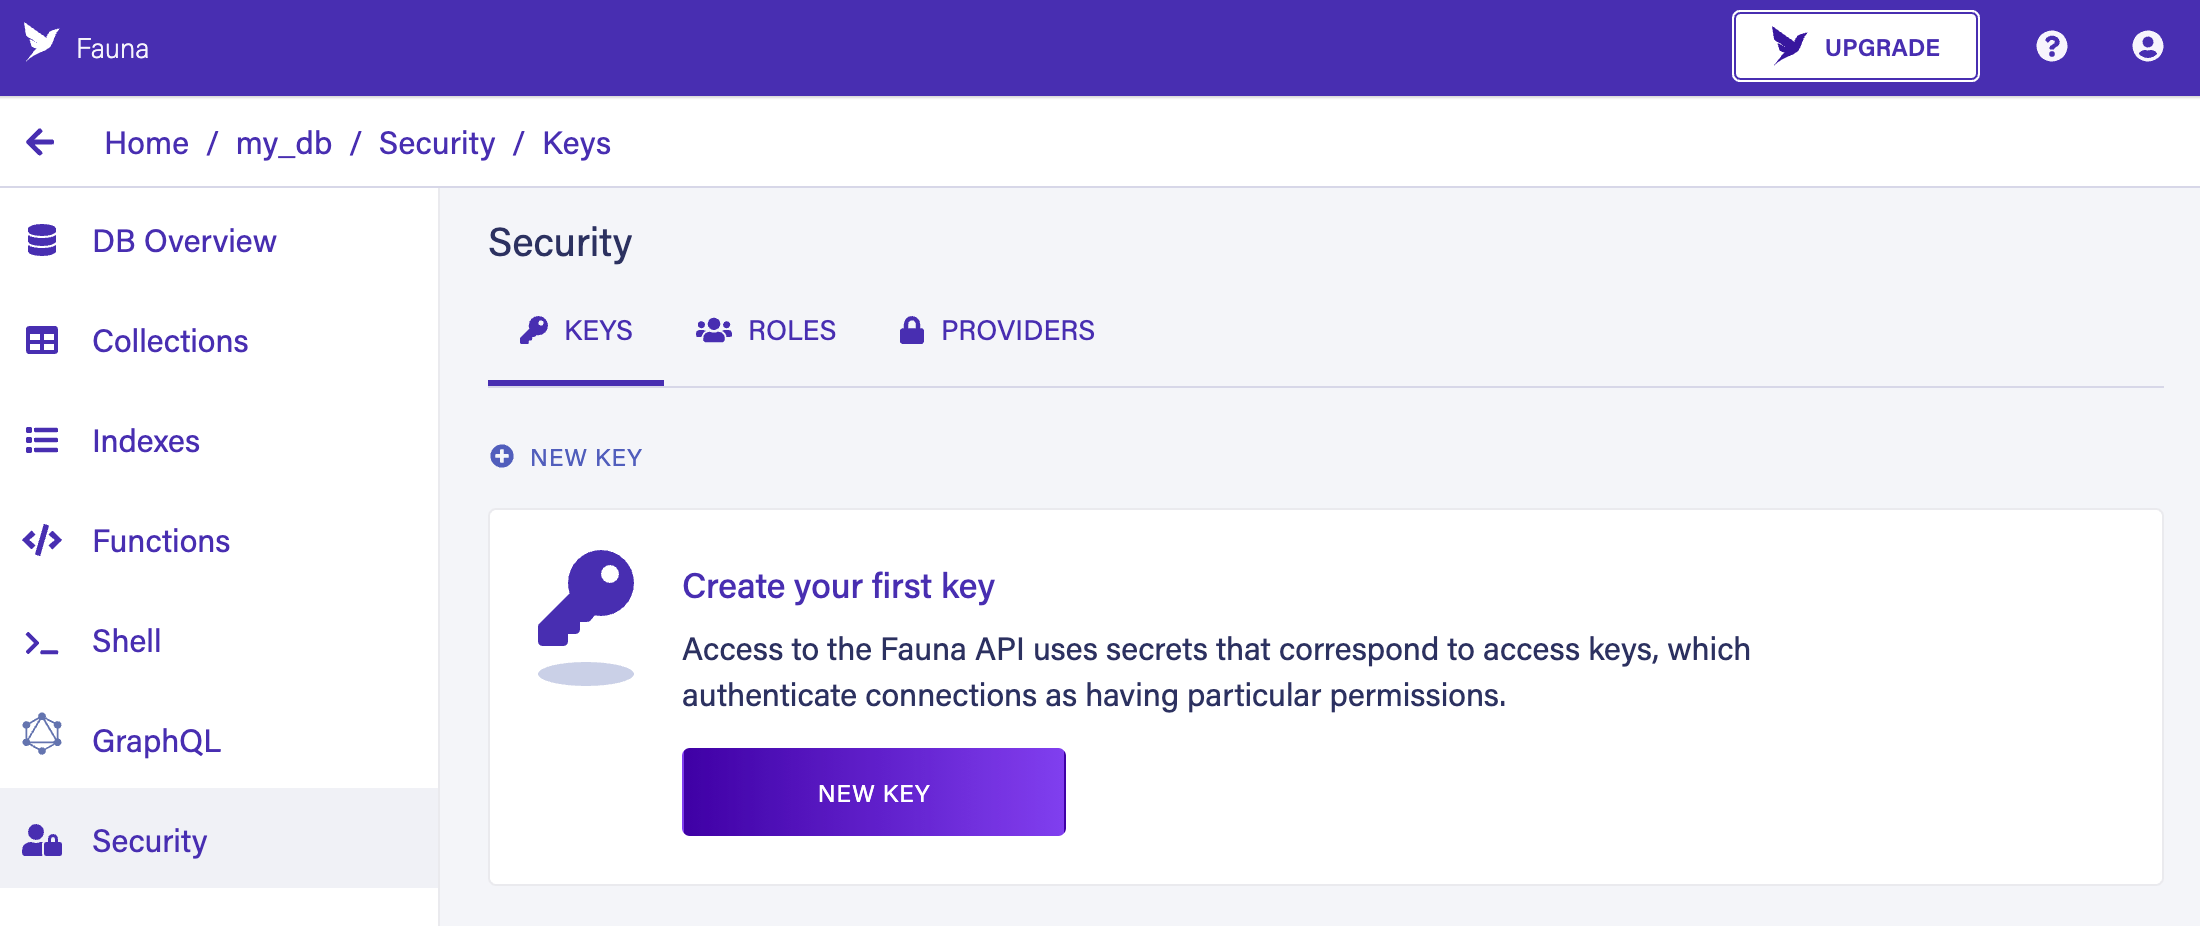
You should now be on the “Overview” page of your new database. Next, to manipulate the database from within our setup scripts, we need a key. Click on the Security tab in the left sidebar, then click the New key button.
In the “New key” form, the current database should already be selected. For “Role”, leave it as “Admin” and give it a name.
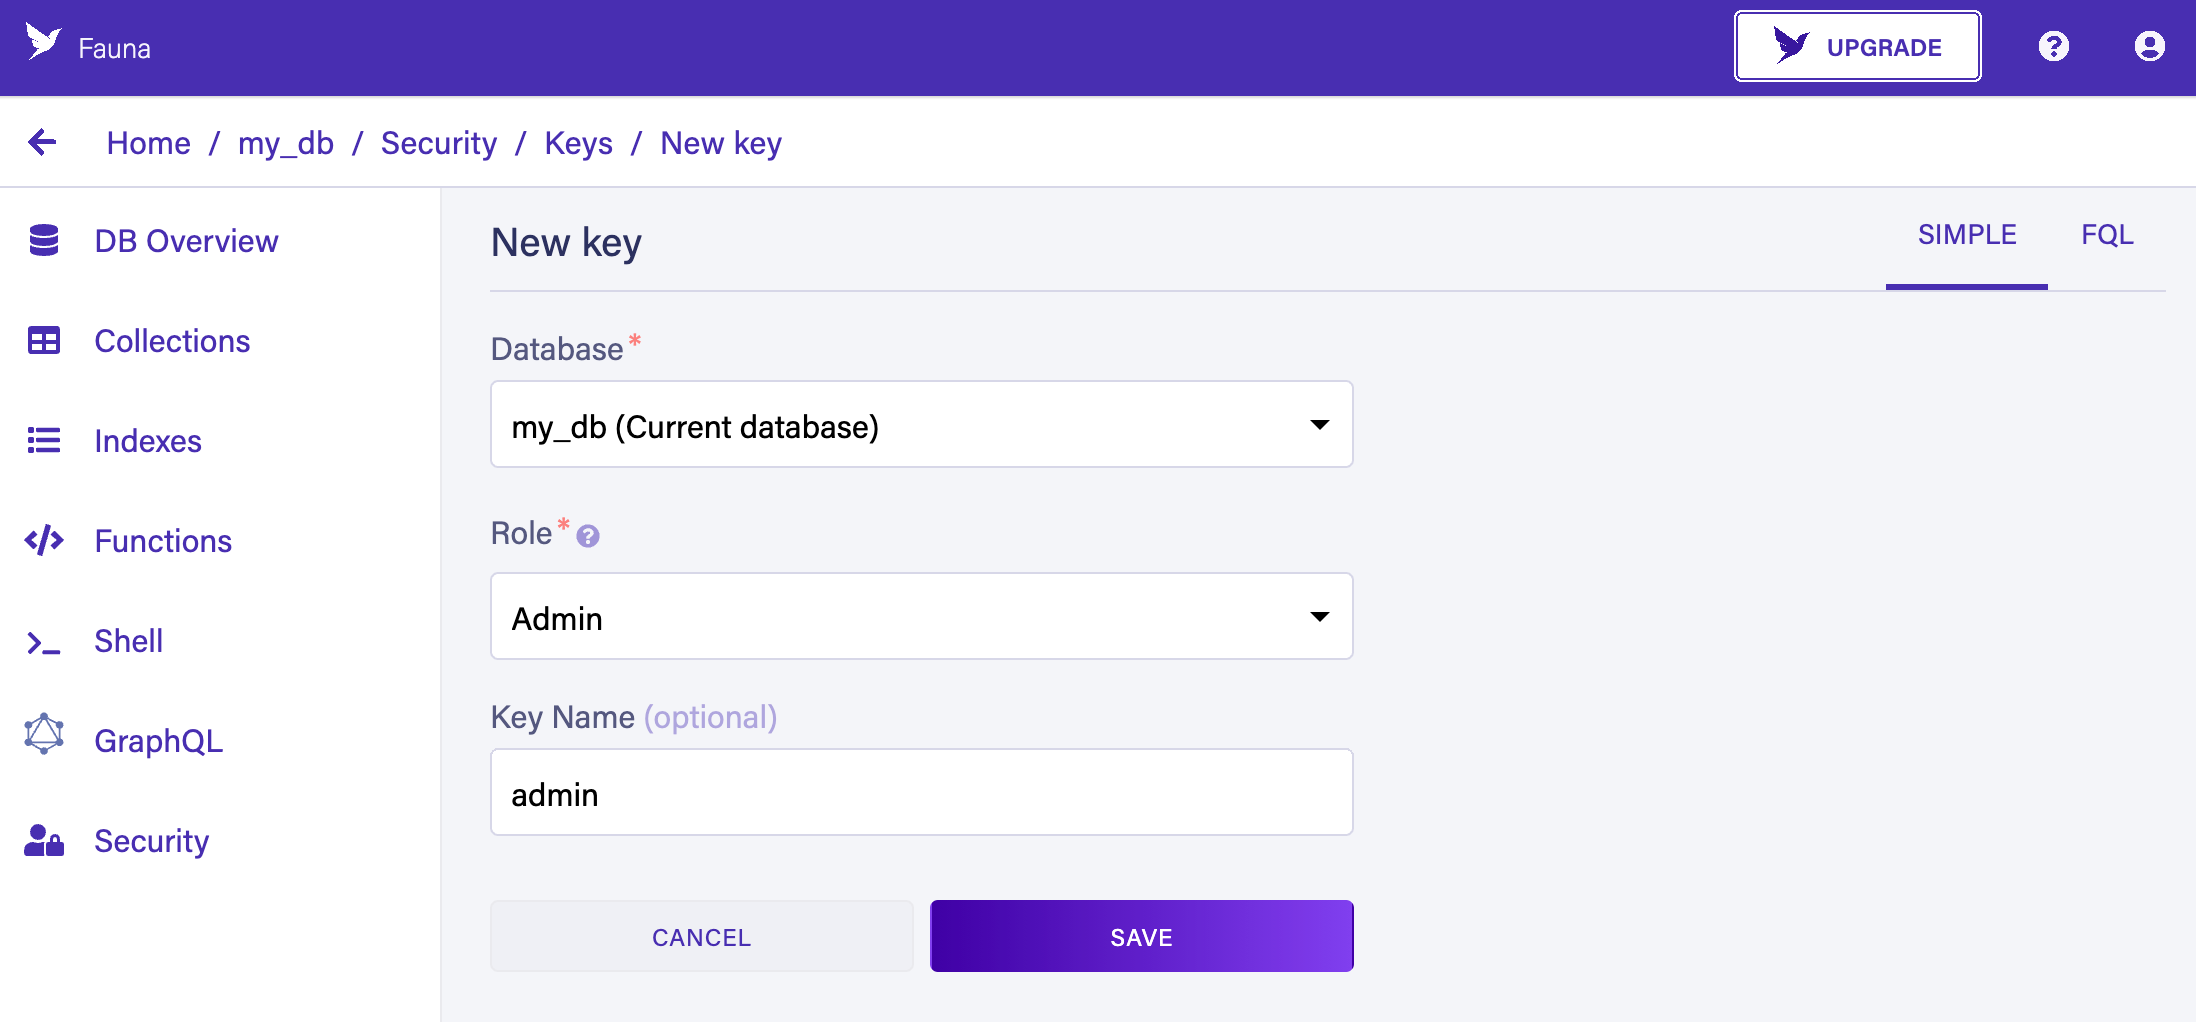
Next, click Save and copy the key secret displayed on the next page. It will not be displayed again.
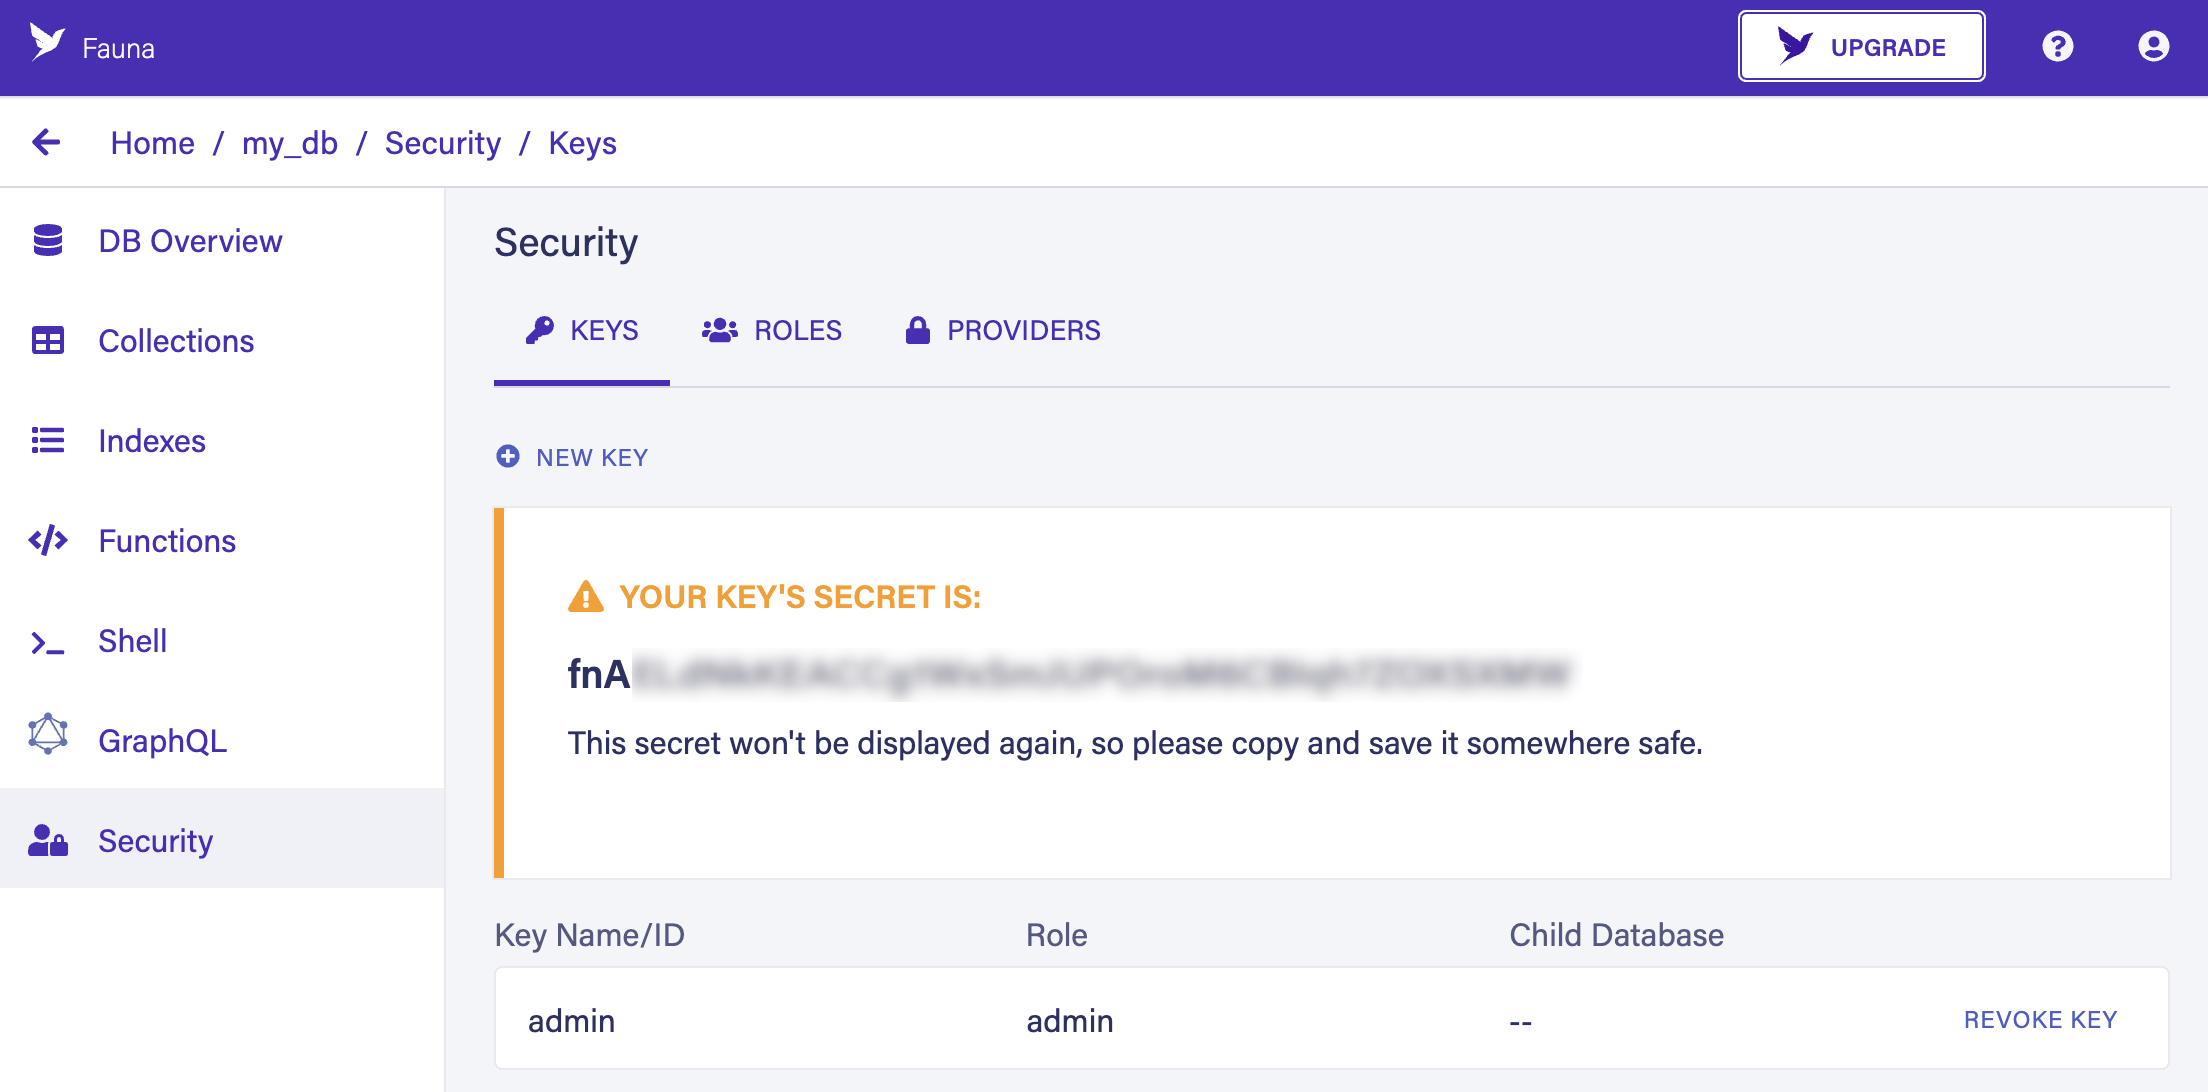
You now have the option to place it in your environment variables (REACT_APP_LOCAL___ADMIN) via .env.local, we have provided an example file .env.local.example that you can rename. Although the .env.local file is gitignored, make sure not to push your admin key, this key is powerful and meant to stay private. The setup scripts will therefore also ask you the key if you did not place it in your environment vars so you could opt to paste them in then instead.
REACT_APP_LOCAL___ADMIN=<insert your admin key>
We have prepared a few scripts so that you only have to run the following commands to initialize your app, create all collections, and populate your database. The scripts will ask for the admin token that you have created and will give you further instructions.
// run setup, this will create all the resources in your database
// provide the admin key when the script asks for it.
npm run setup
When this script has finished setting up everything you will receive a new key which will automatically be written in your .env.local file (or create this file if it doesn’t exist yet from the example file). This key is the bootstrap key that has very tight permissions (it can only register and login) and will be used to bootstrap our application.
REACT_APP_LOCAL___BOOTSTRAP_FAUNADB_KEY=<insert faunadb bootstrap key>
Populate the database (optional)
We also provide a script that adds some data to the database (accounts, users, fweets, comments, likes, etc..) for you to play around with. It will use or ask for the same admin key.
npm run populate
Once you do, you will get four users to login with:
- user1@test.com
- user2@test.com
- user3@test.com
- user4@test.com
all with password: ‘testtest’
If you do not see a lot on the feed of the user you logged in with, search for another user (type in a letter such as ‘b’ or ‘a’) and click the + sign to follow him/her.
Run the project
This project has been created with Create React App and therefore has the same familiar commands:
npm start
to start your application.
Update something in the setup
What if I am experimenting and want to update something? To update User Defined Functions or Roles you can just alter the definition and run npm run setup again. It will verify whether the role/function exists and override it.
One thing that can’t be altered just like that are indexes (makes sense of course, they could contain quite some data). In order to just set up from scratch again you can run npm run destroy followed by npm run setup. Note, that since names such as collections and indexes are cached, you will have to wait +-60 secs but we can easily get around that by just removing and adding the complete database. In that case, we would remove our ADMIN key as well which would mean that we have to generate a new one each time. However, if we just create an admin key and use that to add (on setup) and remove (on destroy) a child database, than we can get around that inconvenience. We have provided you with that option. When you add the environment variable ‘REACT_APP_LOCAL___CHILD_DB_NAME’, the script will create a child database on npm run setup and destroy it on npm run destroy instead of removing all collections/indexes/functions.
Download this app source code on GitHub
Provides the list of the opensource Flutter apps collection with GitHub repository.
